Tag: Manual

  • Instant Pot Pork-Foot Aspic (Kholodets)

    Instant Pot Pork-Foot Aspic (Kholodets)

    This recipe uses three stages: blanching, pressure-cooking, and final conditioning. Blanching removes odors and stray proteins, pressure-cooking extracts gelatin from the pork feet, and final conditioning enriches the broth with spices while keeping their flavors potent and preventing the vegetables from overcooking.

    Yield

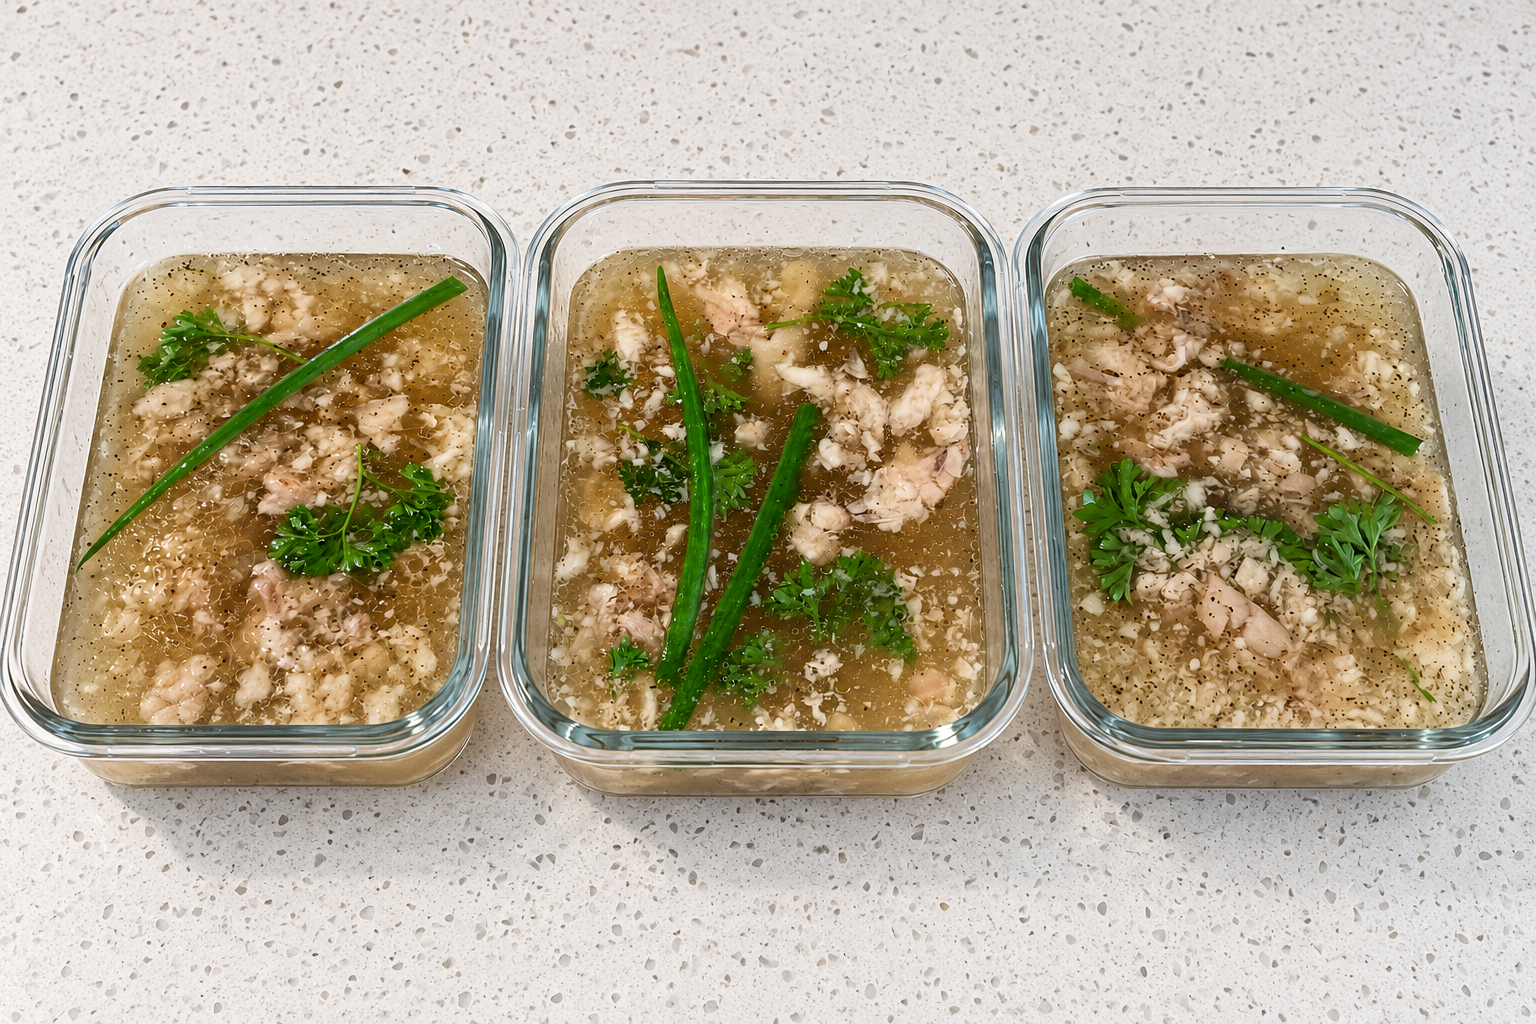
    850 g (~2lb) of pig feet produces about three shallow containers.Total yield: about 1.8 kg of aspic.

    Ingredients

    • 850 g pork feet, approximately 2 lb; try to choose one of the smallest packages commonly available at a grocery store
    • Plenty of cold water for blanching
    • Approximately 1.5 liters of fresh water for pressure-cooking

    Seasoning for approximately 1.5 liters of broth

    • 1 teaspoon salt
    • ½ teaspoon ground black pepper
    • ½ onion, left whole for easy removal
    • 1 celery stalk, cut into large pieces
    • 1 small carrot, sliced into rounds
    • Several sprigs of dill or parsley

    Preparation

    1. Blanch the pork feet—really important!

    Place the pork feet in an ordinary cooking pot and cover them with plenty of cold water. Bring the water to a boil and boil vigorously for 3–5 minutes.

    Discard this water and rinse the pork feet. This removes coagulated blood, stray proteins, and some of the stronger pork aroma, producing a cleaner broth.

    2. Extract the gelatin

    Transfer the blanched pork feet to the Instant Pot. Add approximately 1.5 liters of fresh water, or enough to cover the pork feet without exceeding the maximum-fill line. This is about twice the weight of the initial meat.

    Do not add salt or seasonings at this stage.

    Cook on High Pressure for 90 minutes, then allow the pressure to release naturally.

    Waiting to add the seasonings makes the final seasoning easier to control because the exact broth volume is not yet known. It also prevents the spices from losing their potency during prolonged cooking.

    3. Strain the broth

    Once the pressure has released normally, pour the liquid through a fine strainer. The pork feet will remain in the strainer.

    You should now have approximately 1.5 liters of relatively clean, gelatin-rich broth. Leave the meat to cool while conditioning the broth.

    4. Condition and season the broth

    Return the strained broth to the Instant Pot or another pot. Do not use high pressure at this stage.

    Add:

    • 1 teaspoon salt
    • ½ teaspoon black pepper
    • ½ whole onion
    • Celery pieces
    • Carrot rounds

    Cook for approximately 10 minutes, or just long enough to develop a coherent, well-seasoned broth.

    Strain the broth again through a fine strainer. Remove the onion and celery. The carrot slices may be returned later for decoration.

    5. Separate the meat

    While the seasoned broth is cooling, separate the cooked meat, skin, and softened connective tissue from the bones. Discard all bones and hard pieces.

    From 850 g of fresh pork feet, the usable cooked yield was approximately 450 g, which was divided among three containers.

    6. Assemble the aspic

    Divide approximately 150 g of cooled meat among each of three glass containers.

    Pour approximately 450 ml of seasoned broth into each container. Keep the layers relatively shallow so that the aspic cools evenly and is easy to portion.

    Add the previously boiled carrot rounds and small fresh sprigs of dill or parsley for appearance and flavor.

    7. Chill

    Allow the containers to cool briefly, then cover and refrigerate until completely set, preferably overnight.

    The aspic should solidify naturally without added commercial gelatin.

    Storage

    Keep covered in the refrigerator and consume within 3–4 days.
  • Slavic-Style Pickled Tomatoes

    Slavic-Style Pickled Tomatoes

    Batch Size

    Two 2-quart jars. These jars fit together in the large heating pot. Approximately one full 1.7-liter kettle of boiling water is enough to fill the spaces around the tomatoes.

    Ingredients

    Per 2-Quart Jar

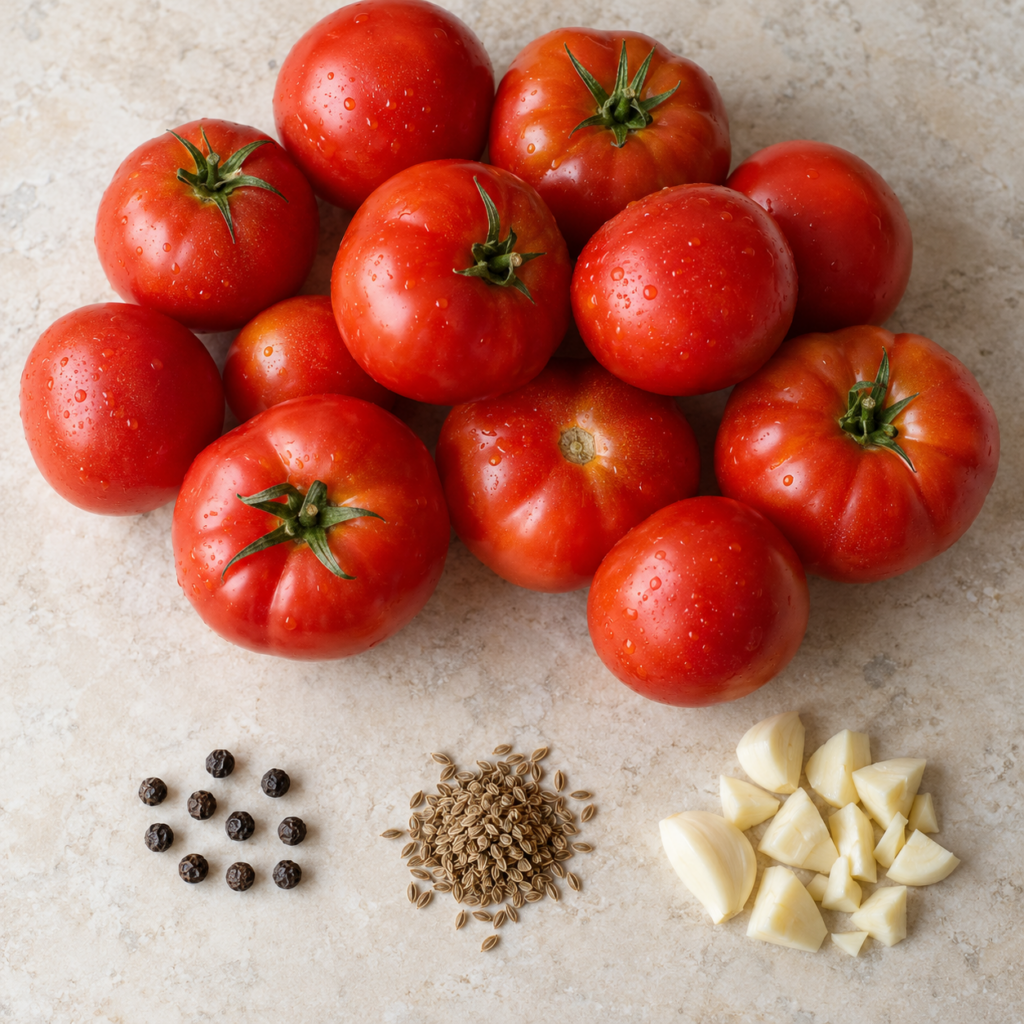
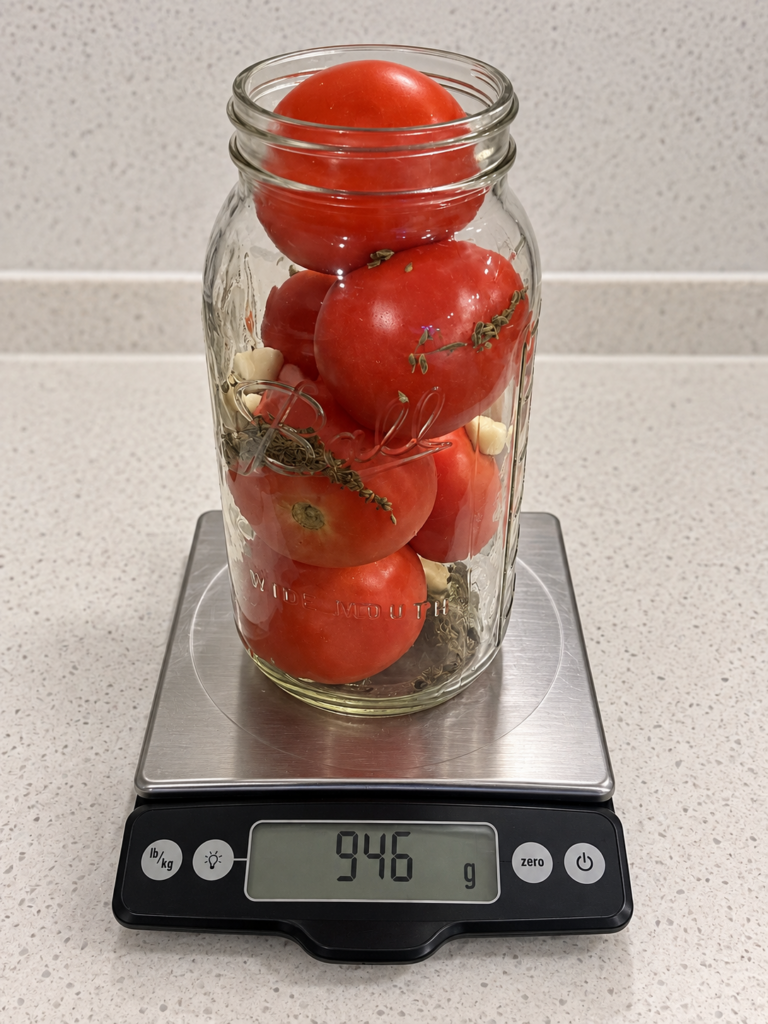
    • About 950 g tomatoes
    • 10 black peppercorns
    • 1/2 teaspoon dill seeds
    • 3 large garlic cloves, about 12 g, coarsely chopped

    Brine for Two Jars

    • Approximately 120 g pickling salt, about 4 heaping tablespoons
    • 60 g 5% white vinegar, about 4 tablespoons
    • Water drained from the two filled jars

    Procedure

    1. Add water to a large, wide pot to approximately one-quarter of the jars’ height. Bring it to a simmer.
    2. Primary sterilization: Place two empty jars in the pot and heat them for 10 to 15 minutes. Heat the lids and screw bands in the same water.
    3. Wash the tomatoes and place them on a clean cloth to drain and dry slightly.
      • Make sure there are no cuts, cracks, or rotten areas.
      • Slightly soft areas are acceptable if the skin is intact and there are no signs of spoilage.
    4. After 15 minutes at a simmer, remove the hot jars and allow them to cool for about one minute. If preparing another batch, place the next two jars in the pot.
    5. Bring a full 1.7-liter kettle of water to a boil.
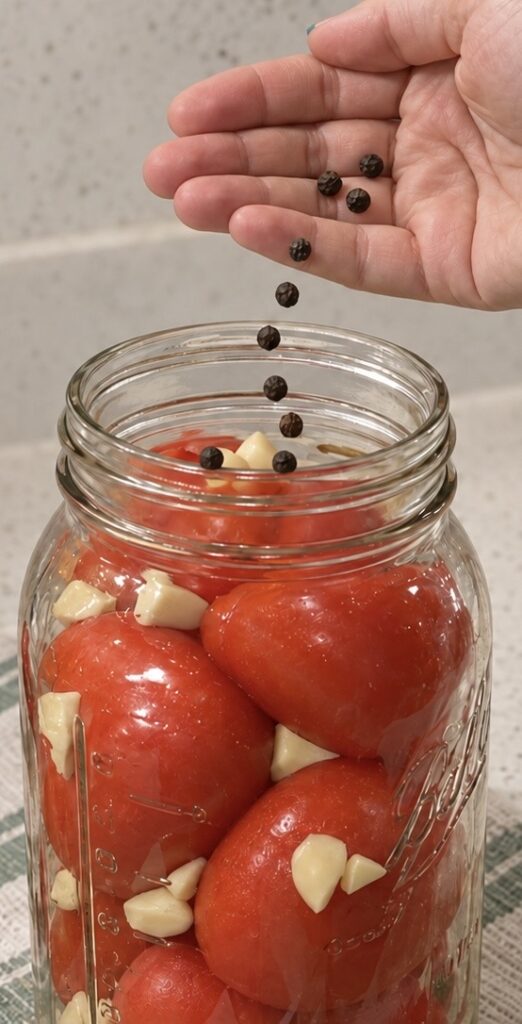
    6. Pack each warm jar in the following order:
      • Tomatoes
      • Coarsely chopped garlic
      • Dill seeds
      • Black peppercorns
    7. Secondary sterilization: Fill the packed jars with boiling water from the kettle and cover loosely with the lids. Keep cloth around as liquid drips a lot.
    8. Leave the 2-quart jars covered for 15 minutes. For 1-liter jars, use 10 minutes. This heats the tomatoes and jars throughout and reduces surface contamination.
    9. Drain the water from both jars into a 4-liter saucepan.
    10. Add 120 g pickling salt and bring the liquid to a boil.
    11. Only after the brine reaches a boil, add 60 g of 5% vinegar and immediately remove the saucepan from the heat. Acetic acid is volatile, so adding the vinegar last minimizes its loss.
    12. Tertiary sterilization: Pour the hot brine back into the jars, leaving approximately 5 mm of headspace. Seal the jars immediately.
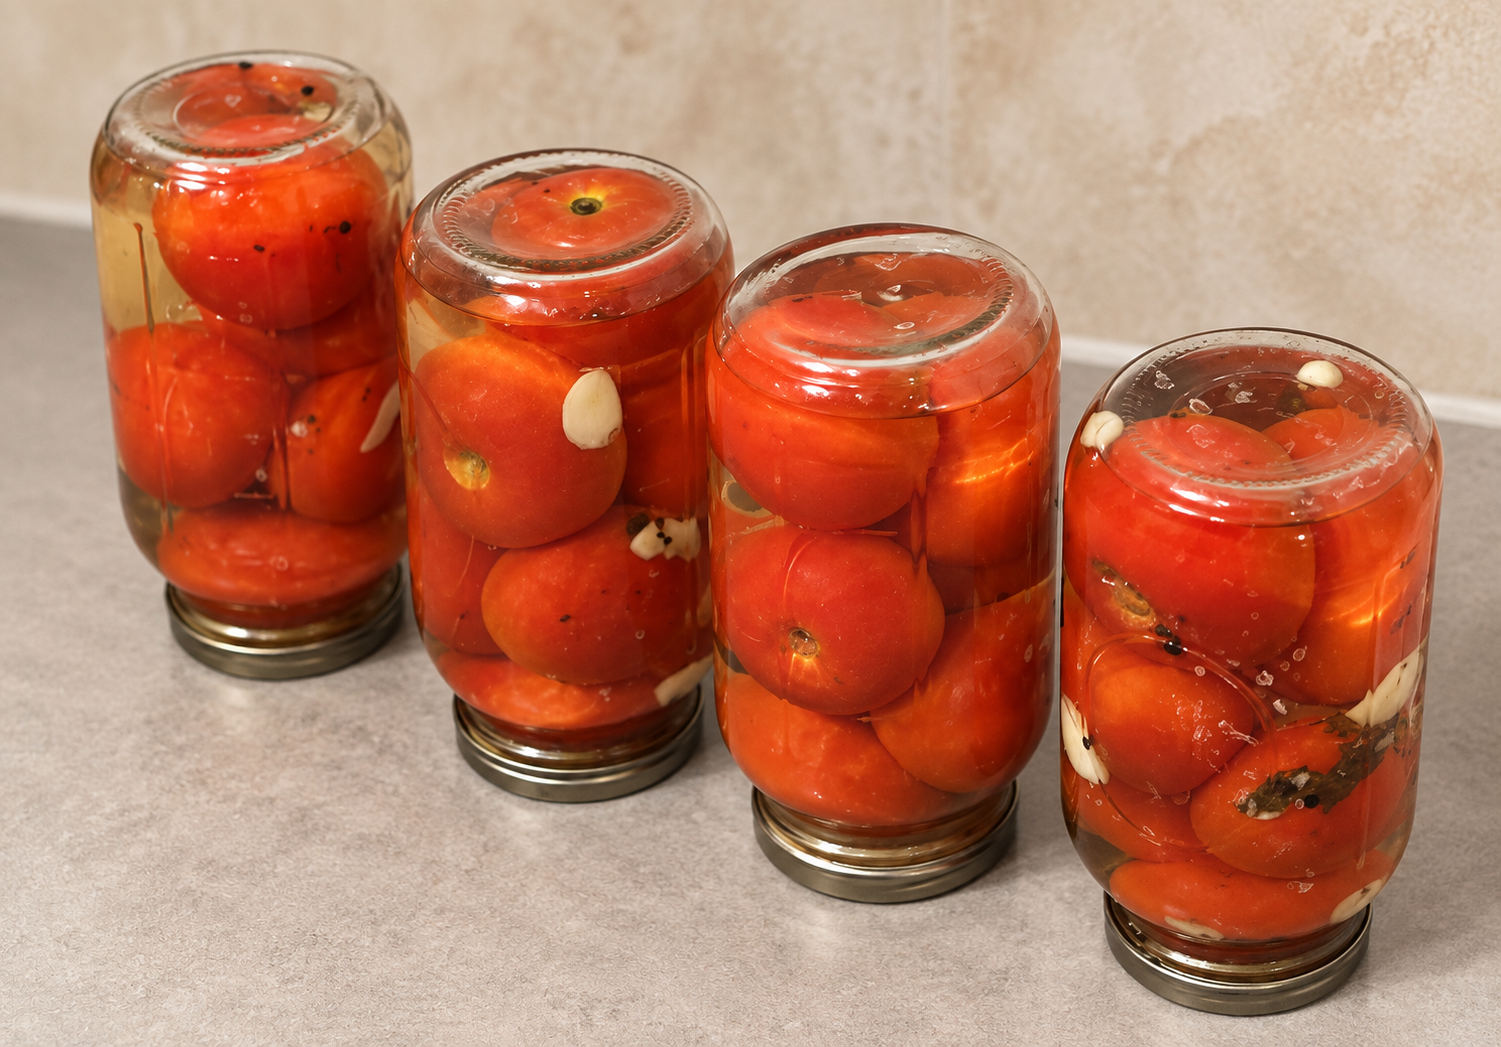
    13. Turn the jars upside down and leave them on a protected surface until completely cool. This brings the hot brine into contact with the lid, reheats the lid, and makes leaks easy to detect.
    14. Check for leaks, label each jar with the preparation date, and leave the jars in a cool, dry place.
    15. Allow approximately one month for salt and acid to diffuse through the tomatoes. By then, the tomatoes should be evenly seasoned, tender, and ready to eat.

    Technical Notes

    Chemistry

    “Sterilization” is used here in the traditional household sense. The three heating stages progressively reduce contamination and heat the jars, tomatoes, brine, and lids.

    Using quantities based on total filled jar capacity makes different batches easier to reproduce. Tomatoes are mostly water, so salt and acid gradually diffuse between the surrounding brine and the liquid inside the tomatoes. The final concentration is therefore closer to the concentration calculated from the full jar volume than from the initially drained water alone.

    The present salt level is approximately 3% based on total jar capacity. If too salty the next batch can test 2%, which would require 80 g of salt for two jars.

    Storage Note

    Check the jars after approximately one week. If the brine becomes cloudy or a lid bulges outward, contamination or active fermentation may have occurred. Discard the jar.

    If the brine remains clean and transparent and the lid stays pulled inward, the jar has remained sealed without visible fermentation. Jars prepared by this household method have reportedly remained usable for many years.