Tag: Fermented

  • 20 Liters of Kombucha in 20 Minutes

    Approximately 20 minutes of active work, followed by 1–2 weeks of fermentation.

    Ingredients

    • 4 heaping tablespoons of good-quality loose-leaf black or green tea, approximately two-thirds of a large tea ball
    • 1.2 kg sugar, approximately 6% of the final 20-liter mixture by mass
    • 2–4 liters mature, unflavored kombucha as starter liquid
    • At least 100 g SCOBY culture, usually included with the starter liquid; insufficient culture may prolong fermentation
    • Water as needed to reach 20 liters total

    Equipment

    • 6-liter or larger pot; a larger pot is more convenient
    • Large tea infuser or reusable tea bag
    • 20–25-liter glass or food-grade stainless-steel fermentation vessel
    • Kitchen scale or measuring jug
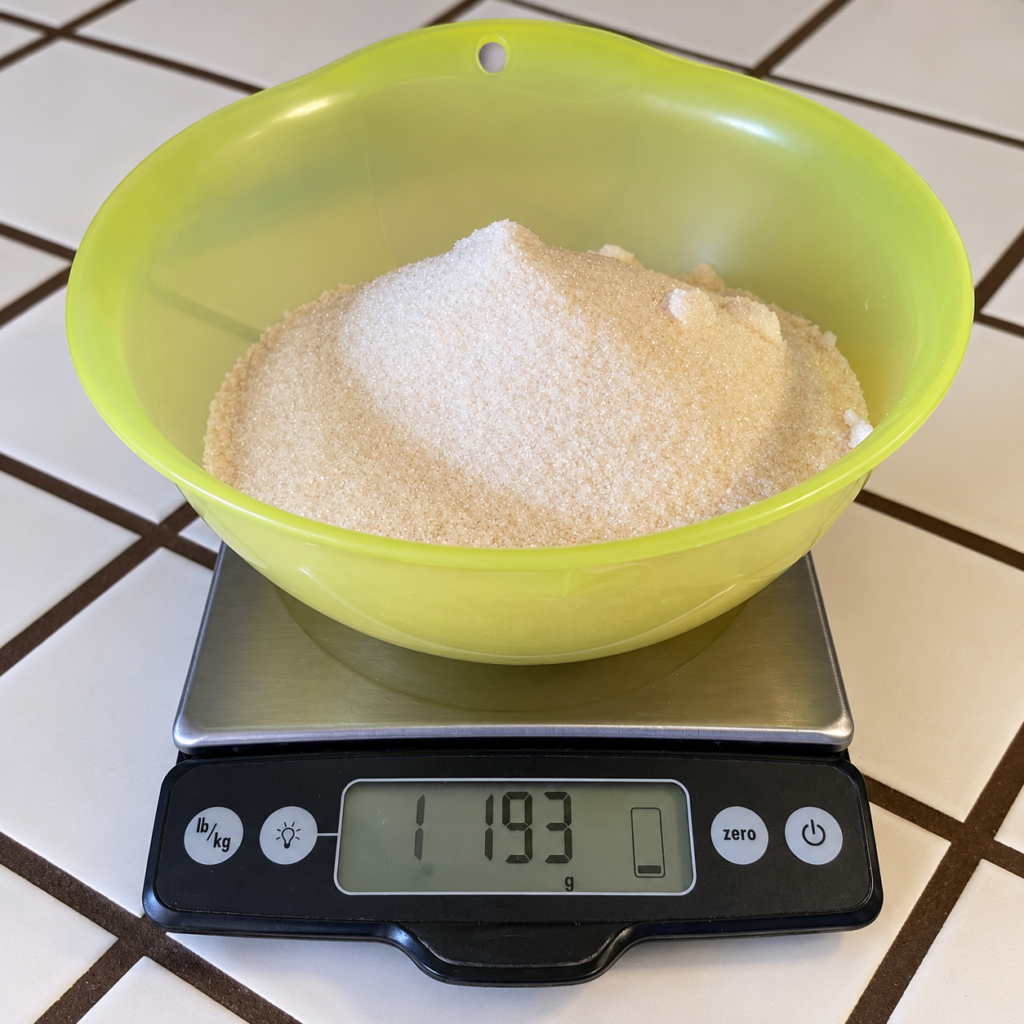
    • Bowl large enough to hold 1.2 kg of sugar while measuring
    • Pressure-resistant bottles or beer growlers for the finished kombucha

    Preparation

    1. Fill the pot with approximately 4 liters of water and begin heating. Reaching a boil should take about 10–15 minutes.
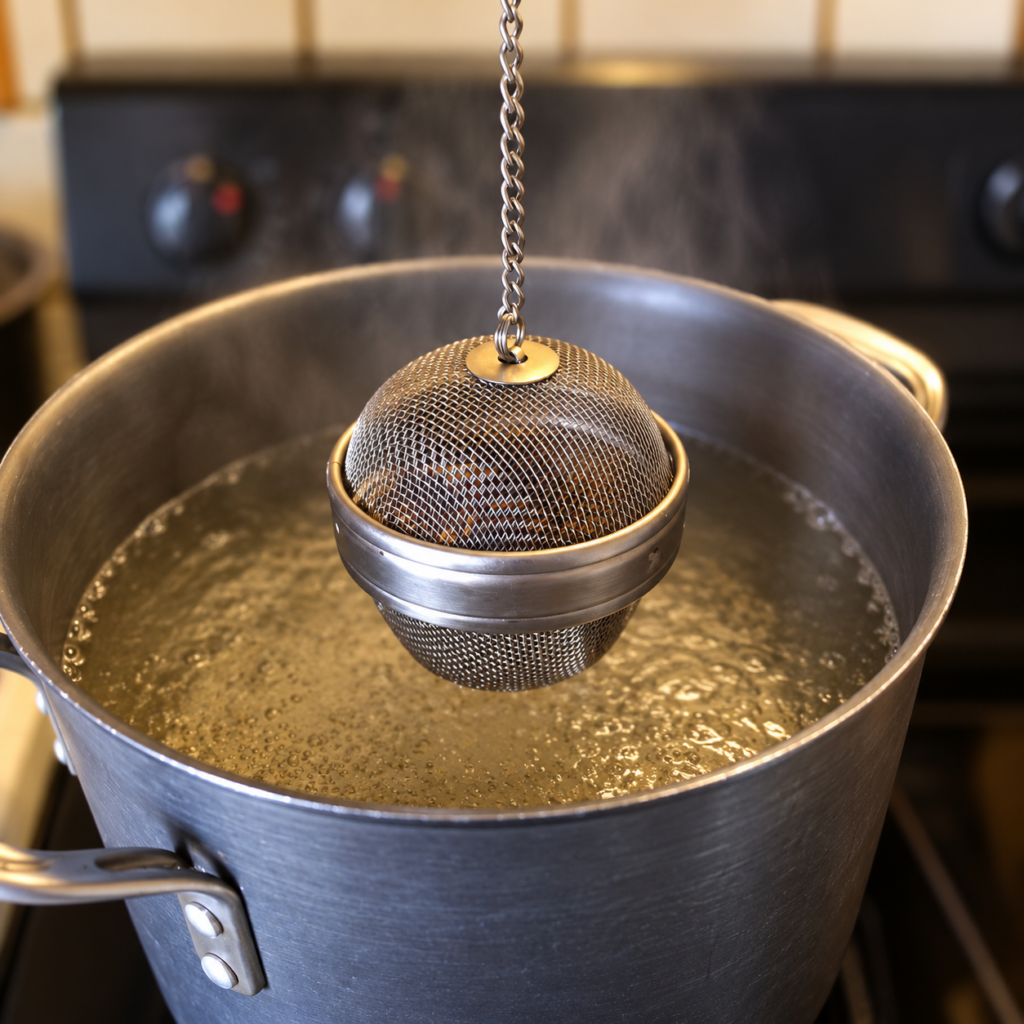
    2. Meanwhile, fill the tea infuser with the loose-leaf tea and place it in the pot to begin making the tea concentrate.
    3. Weigh the sugar in a bowl using the kitchen scale.
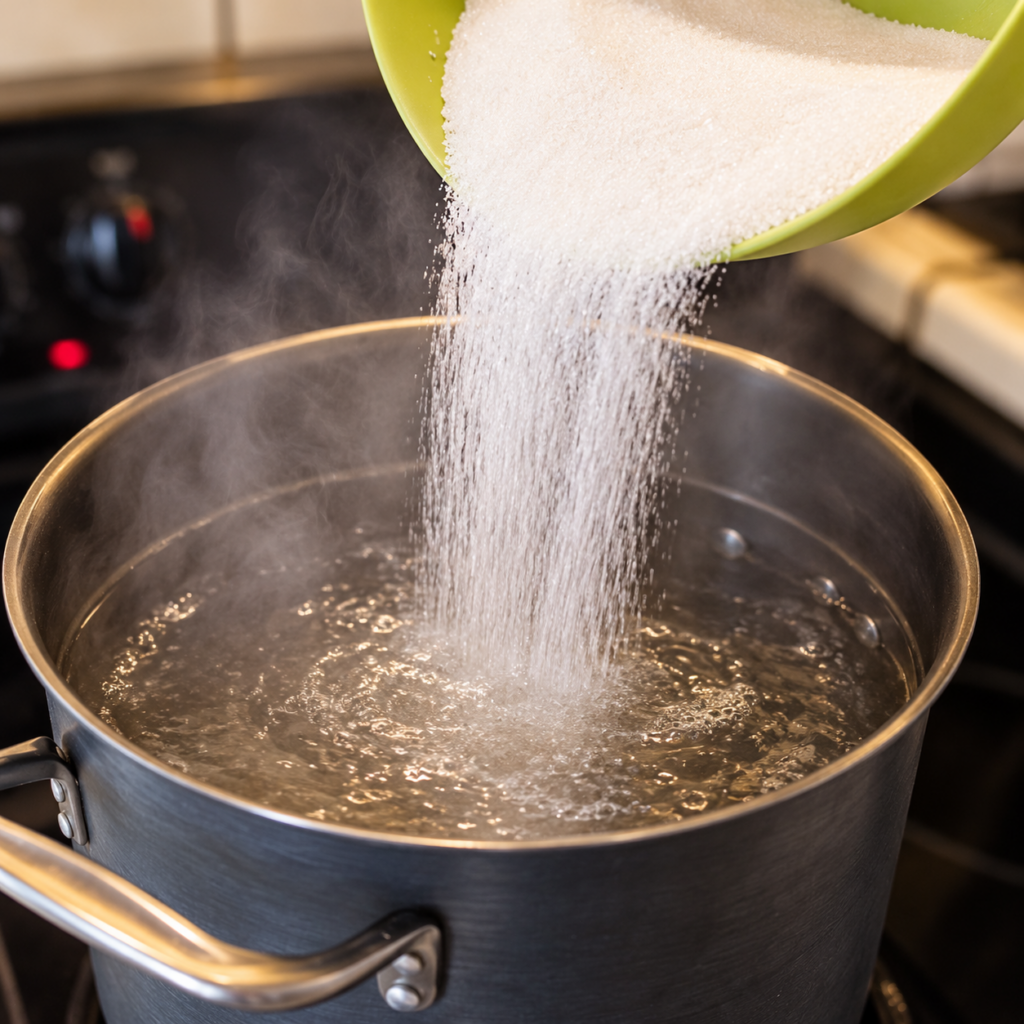
    4. Add the sugar to the hot water before it boils. It should dissolve rapidly with little or no stirring.
    5. When the water boils, turn off the heat. Steep the tea for 10–15 minutes, then remove the infuser.
    6. Add cold water to the pot containing the concentrated sweet tea until the mixture is no longer hot to the touch. This cools and partially dilutes the tea, helping prevent the concentrated sugar solution from settling at the bottom of the fermentation vessel. A large pot provides room to add water without splashing.
    7. Check the temperature. It should be below 30°C/86°F before the tea is added to the SCOBY mixture. Because the SCOBY may float at the surface, it could be exposed to the hottest liquid first. Never add hot tea directly to the culture.
    8. Add cold, fresh water to the fermentation vessel, followed by the starter liquid and SCOBY culture. If this is a subsequent batch and starter liquid remains in the vessel, add fresh water as needed. Filtered, bottled, or chlorine-free tap water may be used. Leave enough room for the cooled tea concentrate.
    9. Add the cooled sweet tea to the fermentation vessel. The cold water already in the vessel will help dilute and mix the tea as it is added.
    10. Add enough additional water to bring the batch close to 20 liters, then mix gently to distribute the tea evenly. Confirm that the total volume is approximately 20 liters.
    11. If using a small amount of weak starter, check that the mixture tastes noticeably sour. If it does not, add more mature kombucha. The acidic starter helps suppress undesirable microorganisms while the culture becomes established.
    12. Leave approximately 2 liters of headspace at the top of the vessel to allow for airflow and fermentation activity.
    13. Cover the vessel with a clean cloth, or close it loosely without creating an airtight seal. The culture needs access to air during this stage. Do not tightly seal a rigid vessel, and do not repeatedly open it to release pressure or introduce oxygen.
    14. Ferment at room temperature for 7–14 days. Begin tasting after one week. Bottle the kombucha when the balance of sweetness and acidity suits you.
    Storage and Flavor

    When the kombucha is sour enough, transfer it to pressure-resistant beer growlers or bottles, leaving as little air as practical beneath the lid. Do not use containers that are not designed to withstand carbonation pressure.

    For carbonation, seal the bottles and leave them at room temperature for 1–3 days. Refrigerate them afterward if you prefer to drink the kombucha cold. Pressure can build quickly, so use pressure-rated bottles and check them regularly.

    Reserve 2–4 liters in the original fermentation vessel as starter for the next batch. It will become more sour over time, which is generally acceptable. The SCOBY culture can tolerate increasing acidity, while the acidic environment helps discourage undesirable microorganisms. Keep the vessel covered or appropriately closed to prevent contamination.

    Discard the entire batch if fuzzy blue, green, gray, brown, or black mold appears.

    References and Equipment

  • Slavic-Style Fermented Cabbage (Sauerkraut)

    Slavic-Style Fermented Cabbage (Sauerkraut)

    This method produces crisp, naturally fermented cabbage. The cabbage is packed in two stages because freshly cut cabbage initially occupies much more space than it does after releasing its juice.

    Ingredients per 1 kg of cabbage

    • 1 kg white cabbage
    • 20 g salt, exactly 2% of the cabbage weight
       (approximately 1 heaping tablespoon, but weighing is preferable)
    • 1 small carrot, approximately 60–80 g

    Practical 5 kg batch

    • 5 kg white cabbage
    • 100 g salt
    • Approximately 300–400 g carrots, or 2–3 large carrots

    Begin with 3–4 kg of cabbage. Reserve the remainder for topping up the crock after the first batch compresses.

    Equipment

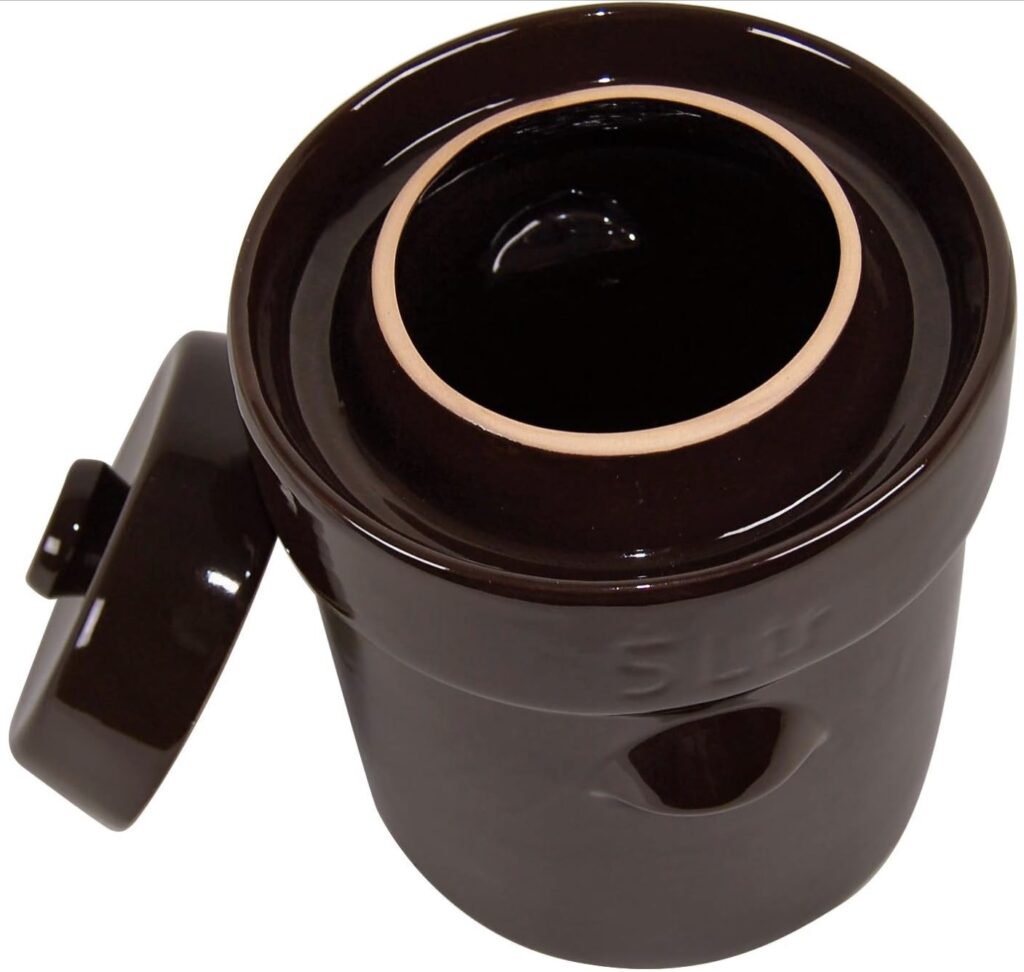
    Crock pot for fermentation

    A tall, relatively narrow fermentation crock is preferable to a wide vessel because it is easier to keep the cabbage submerged.

    • 5-liter fermentation crock with weights and an airlock
    • Large mixing bowl for intermediary overturn
    • Half-gallon or smaller jars for refrigerated storage

    Preparation

    Stage 1: Start the brine

    1. Finely slice approximately 2 kg of cabbage into strips 2–3 mm wide. Place it at the bottom of the crock. The fine cut releases juice more readily.
    2. Cut another 1–2 kg of cabbage as you prefer. I like fairly large pieces rather than conventional finely shredded sauerkraut.
    3. Pack the cabbage into the crock in layers, distributing the salt evenly as you go.
    4. If you already know that the final batch will contain exactly 5 kg of cabbage, you may add all 100 g of salt now. The higher initial salt concentration accelerates juice extraction, and the concentration will become correct after the reserved cabbage is added.
    5. The fermentation weights may not fit yet because the freshly cut cabbage is still bulky. Close the crock with its lid or airlock to minimize exposure to air.
    6. Leave it at room temperature for approximately one day, until the cabbage releases a substantial amount of juice and decreases in volume.

    Stage 2: Fill the crock

    1. Empty the crock into a large bowl. Wetter cabbage will be in the bottom and  drier cabbage at  the top.
    2. Cut enough reserved cabbage to bring the total batch weight to 5 kg ( or whatever we dicied it to be to make the salt at 2% eventually. Place fresher drier cabbage at the bottom of the crock.
    3. Slice the carrots into rounds approximately 3 mm thick and distribute them evenly through the cabbage.
       In this method, the carrots are added only after the salty brine has begun forming. This allows the naturally sweet carrot to become surrounded by brine quickly, reducing the opportunity for unwanted surface growth.
    4. Return the previously salted cabbage to the crock, placing the juicier cabbage toward the top.
    5. Press everything down firmly. The full 5 kg batch should now fit.
    6. Place the fermentation weights on top. The cabbage will not be covered by the brine yet, but thep rocess wil go faster from now on.
    7. Close the lid of the crock and add water to the airlock.
    8. Ferment at room temperature for another one to two days before beginning to check the flavor.

    Checking readiness

    At first, the cabbage may taste slightly bitter or harsh. Active bubbling indicates that fermentation has begun.

    The brine should rise above the cabbage and fermentation weights. This keeps the cabbage in a low-oxygen environment and helps it ferment evenly.

    After another couple of days, bubbling usually becomes steadier and the flavor begins to develop. If you like you cna Taste the cabbage daily. It will gradually become more acidic.

    There is no single mandatory stopping point: transfer it to the refrigerator when the flavor is pleasantly fermented but not yet more sour than you prefer.

    Optional spice twist:

    When transferring to the refrigerator, add about 1 tsp of dry mustard to each liter of the cabbage- it makes it very interesting and delicious. Try one jar with mustard and another without. To feel the difference.

    Refrigerated storage

    Pack the cabbage firmly into clean half-gallon or smaller jars.

    • Keep the cabbage covered with its brine.
    • Fill the jars almost, but not completely, to the top.
    • Leave some space because fermentation and gas production will continue.
    • Refrigeration slows fermentation but does not stop it completely.
    • For the freshest flavor and texture, eat it within several weeks.
    • Minimize air exposure to discourage oxidation, surface yeast, and mold.

    Why it works

    Salt draws water from cabbage cells by osmosis, creating a natural brine. A salt concentration of approximately 2% suppresses many undesirable microorganisms while favoring salt-tolerant lactic-acid bacteria.

    These bacteria convert naturally occurring sugars into lactic acid. The falling pH preserves the cabbage and produces its characteristic sour flavor. Refrigeration slows bacterial activity, preventing the cabbage from becoming excessively sour too quickly.

    Equipment reference