Tag: UsefulTricks

  • How to Use AI as a Teacher Without Wasting Your Study Time

    The Main Rule During a test or broad practice session:

    • Correct, record, and continue.
      • Depth comes afterward.
    Typical Mistakes
    • Studying every unfamiliar word immediately.
    • Asking for several examples after every correction.
    • Spending ten minutes perfecting one sentence.
    • Allowing the AI to change a test into a lesson without noticing.
    • Following interesting side questions unrelated to the original goal.
    • Repeating material that was already understood.
    • Creating flashcards before knowing which mistakes are actually recurring.
    • Measuring progress by the detail of the discussion rather than by the amount of meaningful practice completed.
    AI is infinitely patient. Your time is not. One common mistake is

    allowing every small error to interrupt the main exercise. You answer one question incorrectly, receive five corrected words, and immediately begin studying those five words in detail. Ten minutes later, you have learned something—but you have completed only one question.

    If you are not pacing yourself properly the individual correction will be useful. The study session will be not.

    Before starting, decide which mode you are using:
    1. Testing mode
      Answer the questions under realistic conditions. The AI should give only a brief correction, record the mistake, and immediately continue. Do not stop to study individual words or grammar rules.
    2. Practice mode
      Corrections may include a short explanation and one example. If the same mistake appears repeatedly, the AI may briefly identify the pattern. Then continue.
    3. Study mode
      This is the time to explore vocabulary, grammar, alternative expressions, and exceptions in detail. Depth is now the purpose rather than a distraction.
    4. Review mode
      After the exercise, examine all recorded mistakes together. Remove duplicates, group related problems, and create a vocabulary or grammar set for later study.
  • No-Knead 100% Rye Bread

    No-Knead 100% Rye Bread

    A dense, moist rye loaf that requires no kneading. Water can be replaced with whey left from making tvorog. Using whey adds acidity, minerals, and a subtle fermented flavor while making productive use of a cooking byproduct.

    Ingredients

    • 600 g rye flour
    • 550 g water or whey
    • 18 g salt
    • ½ teaspoon dry yeast, optional
    • Optional flavoring ( one of):
      • 3 tablespoons caraway seeds OR
      • 3 tablespoons thyme leaves OR
      • 3 tablespoons sesame seeds

    Preparation

    1. Mix the dough.
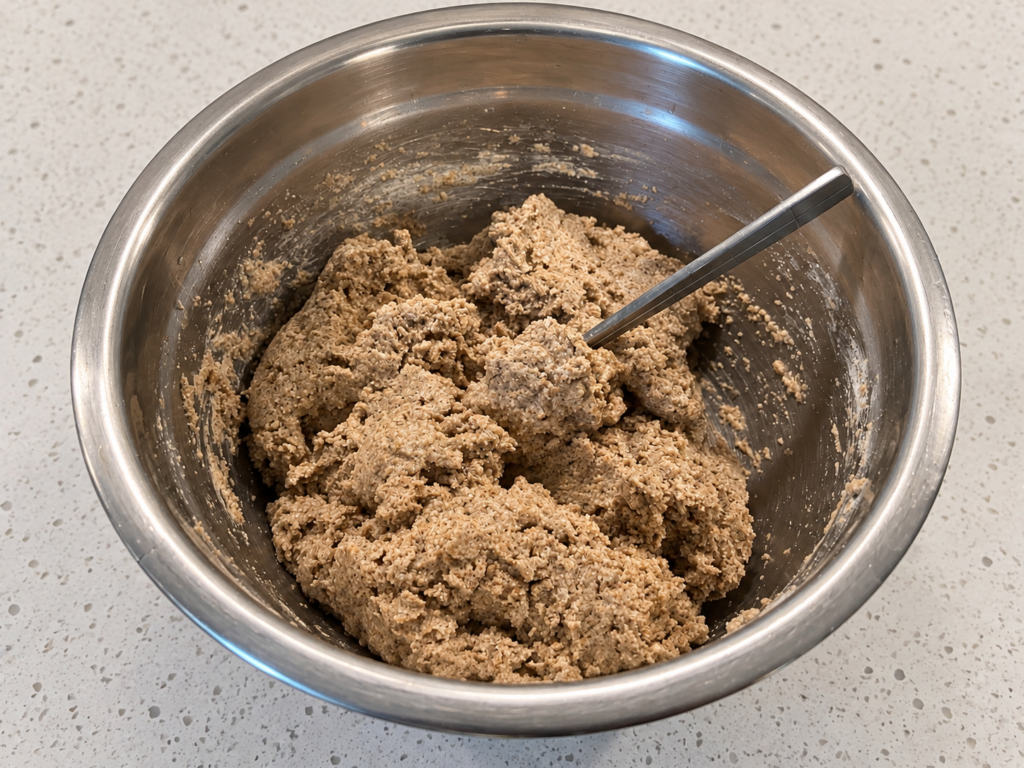
      Combine the rye flour, water or whey, salt, and yeast. Mix until no dry flour remains. Rye dough will resemble a thick paste rather than elastic wheat dough.
      The yeast may be omitted, but spontaneous fermentation can take up to 48 hours. Its speed depends primarily on temperature and the microorganisms naturally present in the flour and surrounding environment.
    2. Ferment for at least 12 hours.
      Cover the bowl with foil or a lid and leave it at room temperature for about 12 hours. The dough should become visibly aerated, slightly expanded, and noticeably more aromatic.
    3. Add the flavoring.
      When the dough looks ready, mix in the caraway, thyme, or sesame seeds. Three tablespoons produce a distinct flavor without overwhelming the rye.
    4. Transfer the dough to the form and proof.
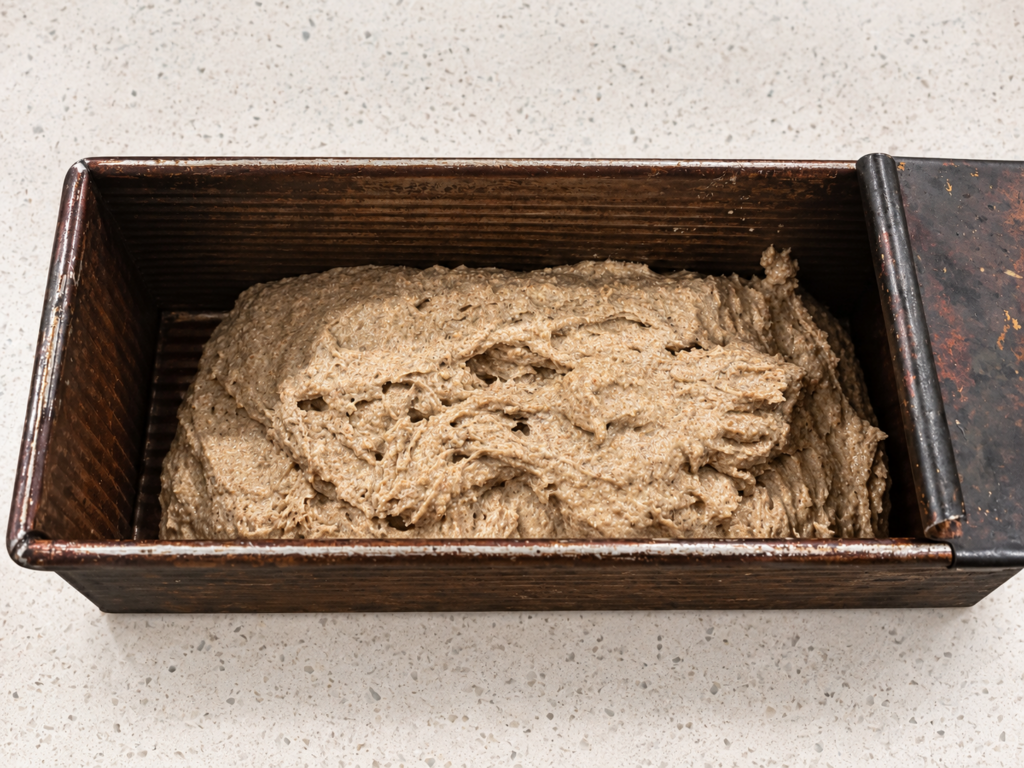
      Transfer the dough to a greased baking form with an oven-safe lid. Smooth the surface with a wet spoon or spatula. Cover and leave for at least 2 hours to rise again. It may also be left overnight if convenient.
      For a morning bake, place the covered form in the oven before going to bed and use the oven’s automatic start function, if available.
    5. Bake covered.
      Bake with the lid closed at 400°F (205°C) for 50 minutes.
      For a cold-oven start, place the covered form in the oven and set it to run for 1 hour at 400°F. If the oven takes approximately 15 minutes to heat, the bread will receive about 45 minutes at full temperature.
    6. Finish uncovered.
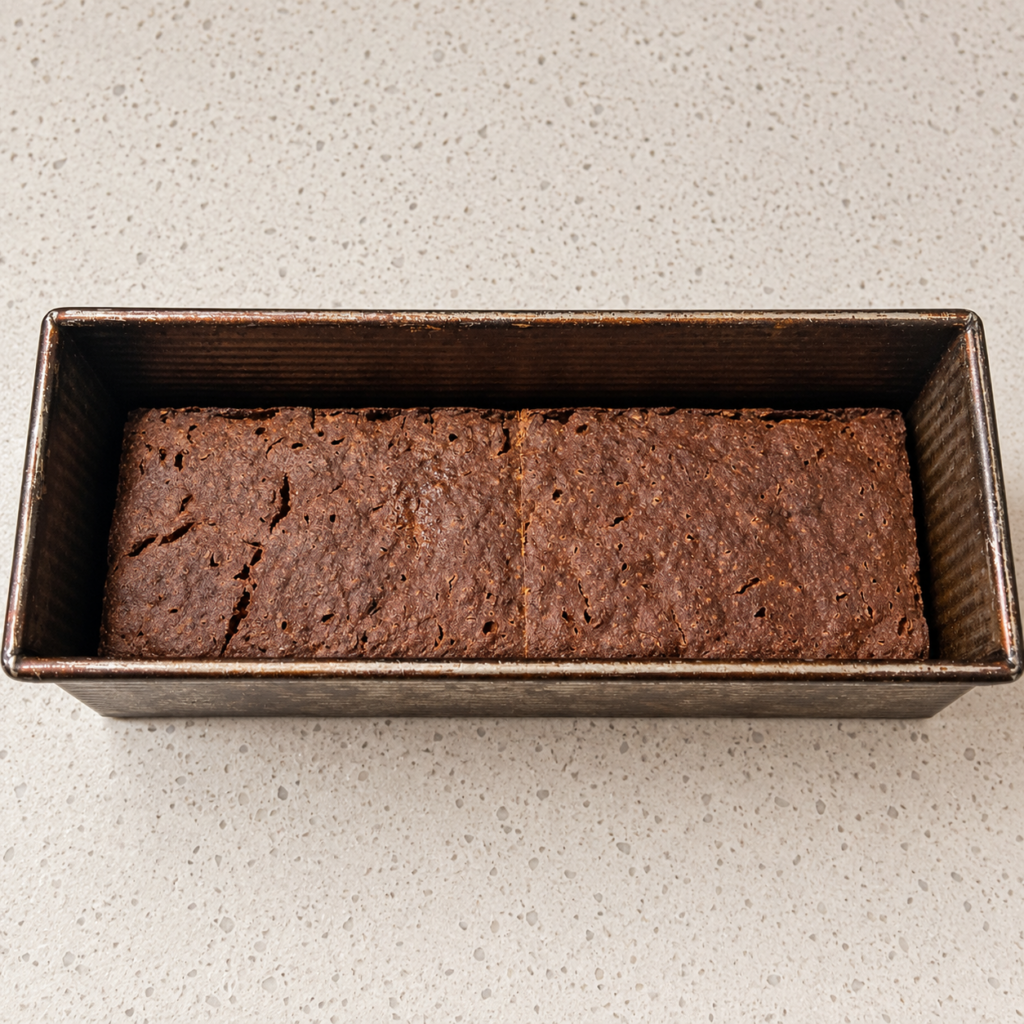
      When the covered baking cycle is complete, the bread should be baked through but may not yet have a firm, attractive crust. Remove the lid, reduce the temperature to 350°F (175°C), and bake for another 30 minutes.
      Alternatively, use a thermometer and stop baking when the internal temperature reaches approximately 190°F (88°C).
    7. Cool.
      Let the loaf rest in the form for 10 minutes, then remove it and cool completely on a wire rack before cutting. Ideally, wait several hours or until the following day. Rye starches continue setting as the loaf cools, producing cleaner slices and a less sticky crumb.
    rye dough raised in form

    Why This Works

    Rye contains little gluten capable of forming an elastic structure, so kneading provides almost no benefit. The high hydration allows rye pentosans and starches to bind water, while the long fermentation develops acidity and flavor. Baking under a lid limits early moisture loss; the uncovered final stage firms and dries the crust.

    Storage

    Keep the fully cooled loaf wrapped or in a bread box for 3–4 days. Rye bread usually tastes better on the second day. For longer storage, slice and freeze it so individual pieces can be toasted directly from frozen.

    Scientific Note

    Rye flour contains much less gluten-forming protein than typical white bread flour—approximately 2.8% compared with 9–14%, depending on the flour and how the protein is measured. This is why pure rye bread is difficult to produce commercially because rye flour behaves very differently from wheat flour. Many store-bought rye breads are therefore colored versions, blended with wheat flour or other grains to improve their structure and handling.

    References and Equipment

  • The Missing Magnetic Eraser

    The Missing Magnetic Eraser

    A magnetic dry-erase board on the refrigerator is surprisingly useful. You can write down recipes, daily plans, shopping lists, or love notes.

    Magnetic markers make it even better: they are always beside the board, ready to write.

    The eraser is usually the weak point. Small magnetic erasers are inconvenient, while comfortable full-size erasers often have no magnet and inevitably disappear into a drawer.

    The solution is simple: cut a credit-card-sized piece of self-adhesive magnetic sheet and attach it to the back of a regular large eraser. Now the eraser stays on the refrigerator beside the board and markers.

    A five-minute modification that makes the entire system work properly.

    References and materials